
Data Hub Settings
The Data Hub feature allows users with the appropriate permissions to export report data out of Coplogic™ Ethos.
Procedure
-
Use one of the following options to access the Data Hub module.
Option 1 - Click the Quick Shortcut icon in the upper pane.

- Select DataHub
 from the drop-down list.
Option 2 - In the left pane, select .
- On the Agency Configuration page, select Data Hub.
- Click the Quick Shortcut icon in the upper pane.
-
In the Data Hub module, select one of the following options:
New Export - To create a new export, select the New Export tab.
- Use the Form Name drop-down list to select the form you want to view analytics for.
- Select the Report Status field and select the pertinent statuses from the drop-down list.
- Select the Output Format field and select the pertinent format from the drop-down list.
- To run the report immediately, specify a date range to be covered in the report.
- If you want to schedule the report to run at a later time, click Schedule Export and specify the run frequency (Hourly, Daily, Weekly, Monthly).
- In the right-hand section of the page, enter a task name for the report run.
- Specify a time when the report should run.
- If desired, specify an end date for the schedule report runs.
- If desired, specify an age range for the reports.
- If you want the report uploaded to an SFTP (secure file transfer protocol) server, select the Upload to SFTP check box on the lower left-hand
side of the page.
- To select an existing server, click in the SFTP destination field and select the server from the drop-down list.
- Alternatively, you can click Add New Server and specify the parameters for the server. Be sure to click Confirm to save the server settings.
- Add the email addresses where notifications should be sent when the SFTP upload is complete.
- Click Run Export or Schedule Export to save your settings.
Scheduled Exports - To view or edit parameters for a scheduled export, select the Scheduled Exports tab.
- Select the export you want to view or edit.
- Edits fields as needed and click Save.
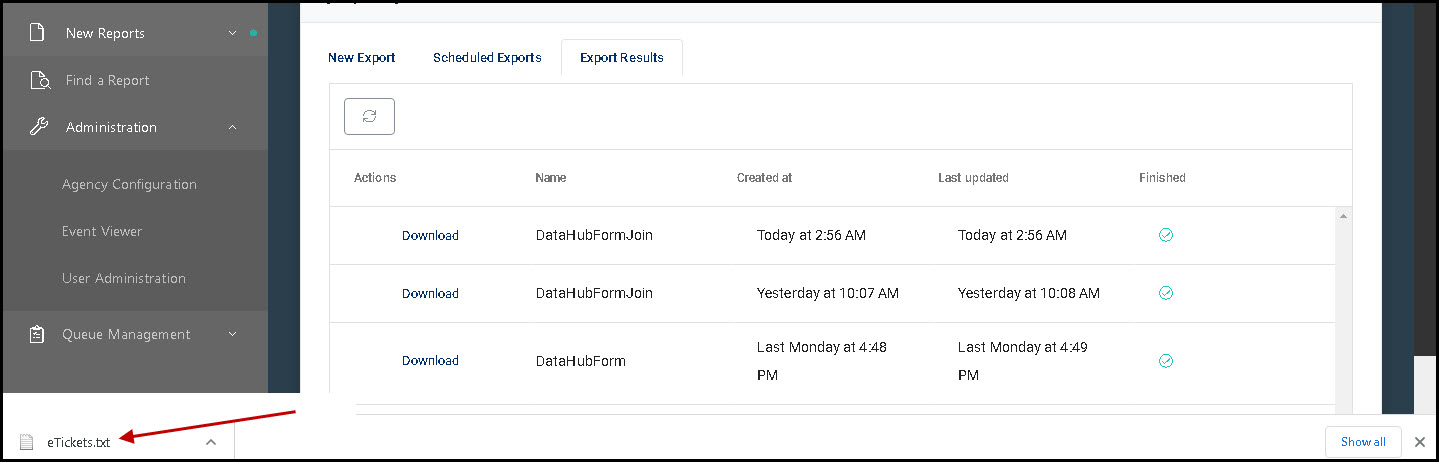
Export Results - To export results, click the Export Results tab.
- Select the report run you want to export.

If you don't see the run you want on the list, click the sync icon to refresh the list. 
- When the downloaded file appears at the bottom left-hand corner of your screen, click the file to open it. You can then save it, edit it or print it as needed.